
- ← Back to Support
EZCODE / SUPPORT
8800F
USB desktop barcode scanner
Setup guideFor the orange-red 8800F shown here.
Check your model label before scanning a setting.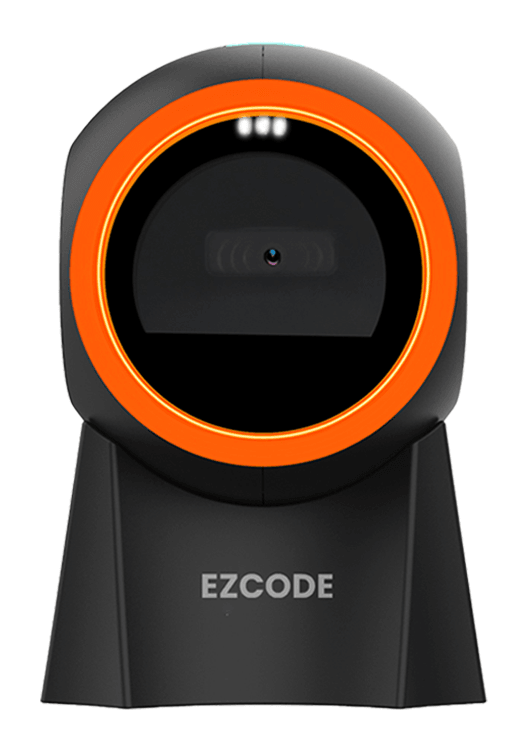 Scan only the setting you need. Use your scanner, not your phone camera.
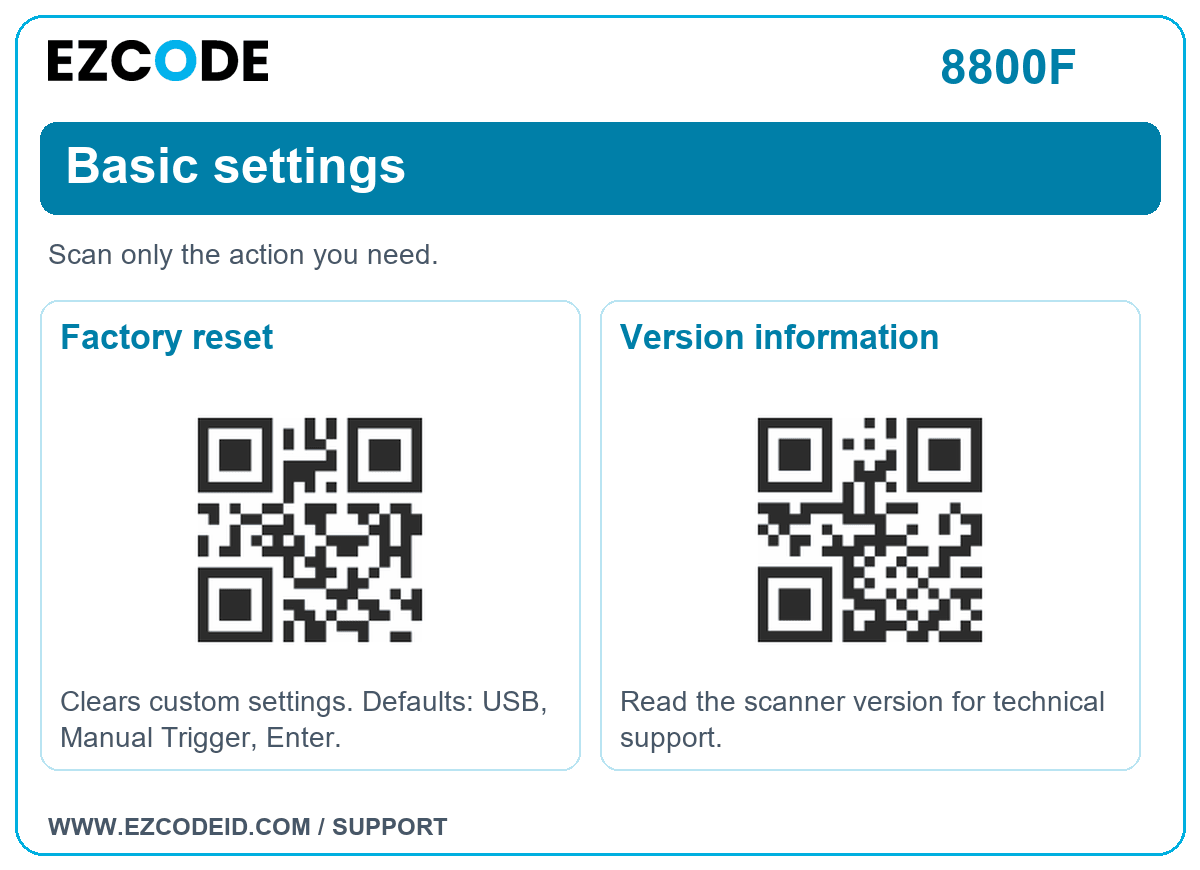
Save to your phone: open a group image, then touch and hold to save it. Enlarge before scanning, or print the saved image.Basic settings
Scan only the action you need.
Open / save basic settings image ↗Factory reset
Clears custom settings. Defaults: USB, Manual Trigger, Enter.
Version information
Read the scanner version for technical support.
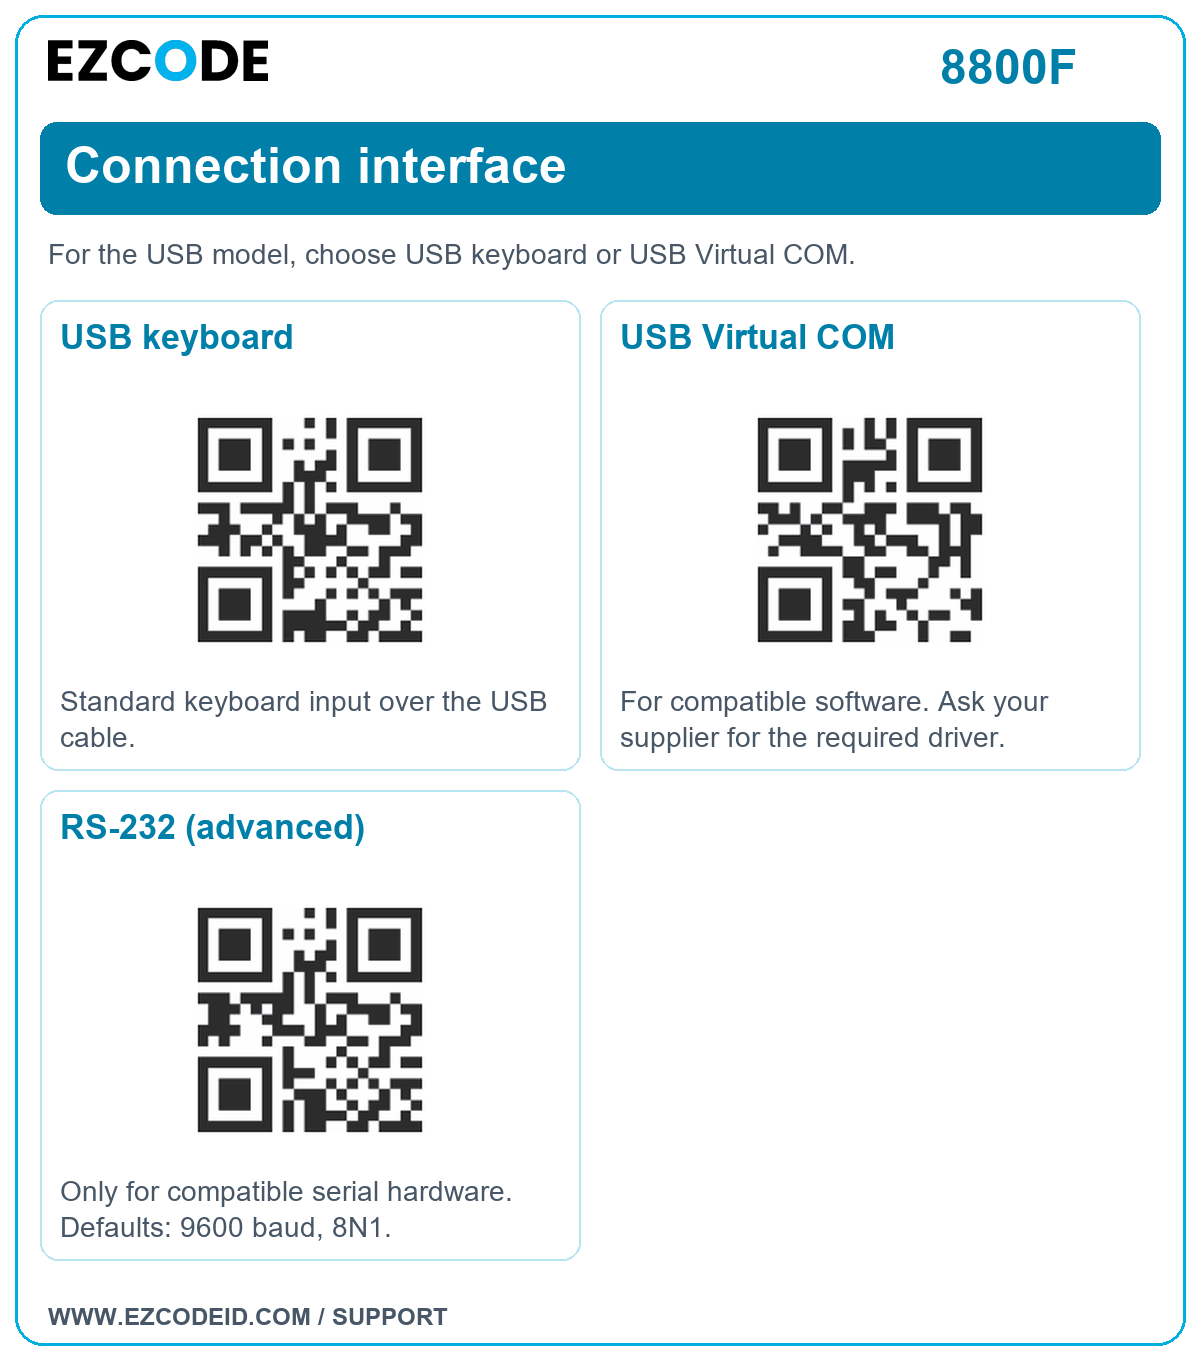
Connection interface
For the USB model, choose USB keyboard or USB Virtual COM.
Open / save connection interface image ↗USB keyboard
Standard keyboard input over the USB cable.
USB Virtual COM
For compatible software. Ask your supplier for the required driver.
RS-232 (advanced)
Only for compatible serial hardware. Defaults: 9600 baud, 8N1.
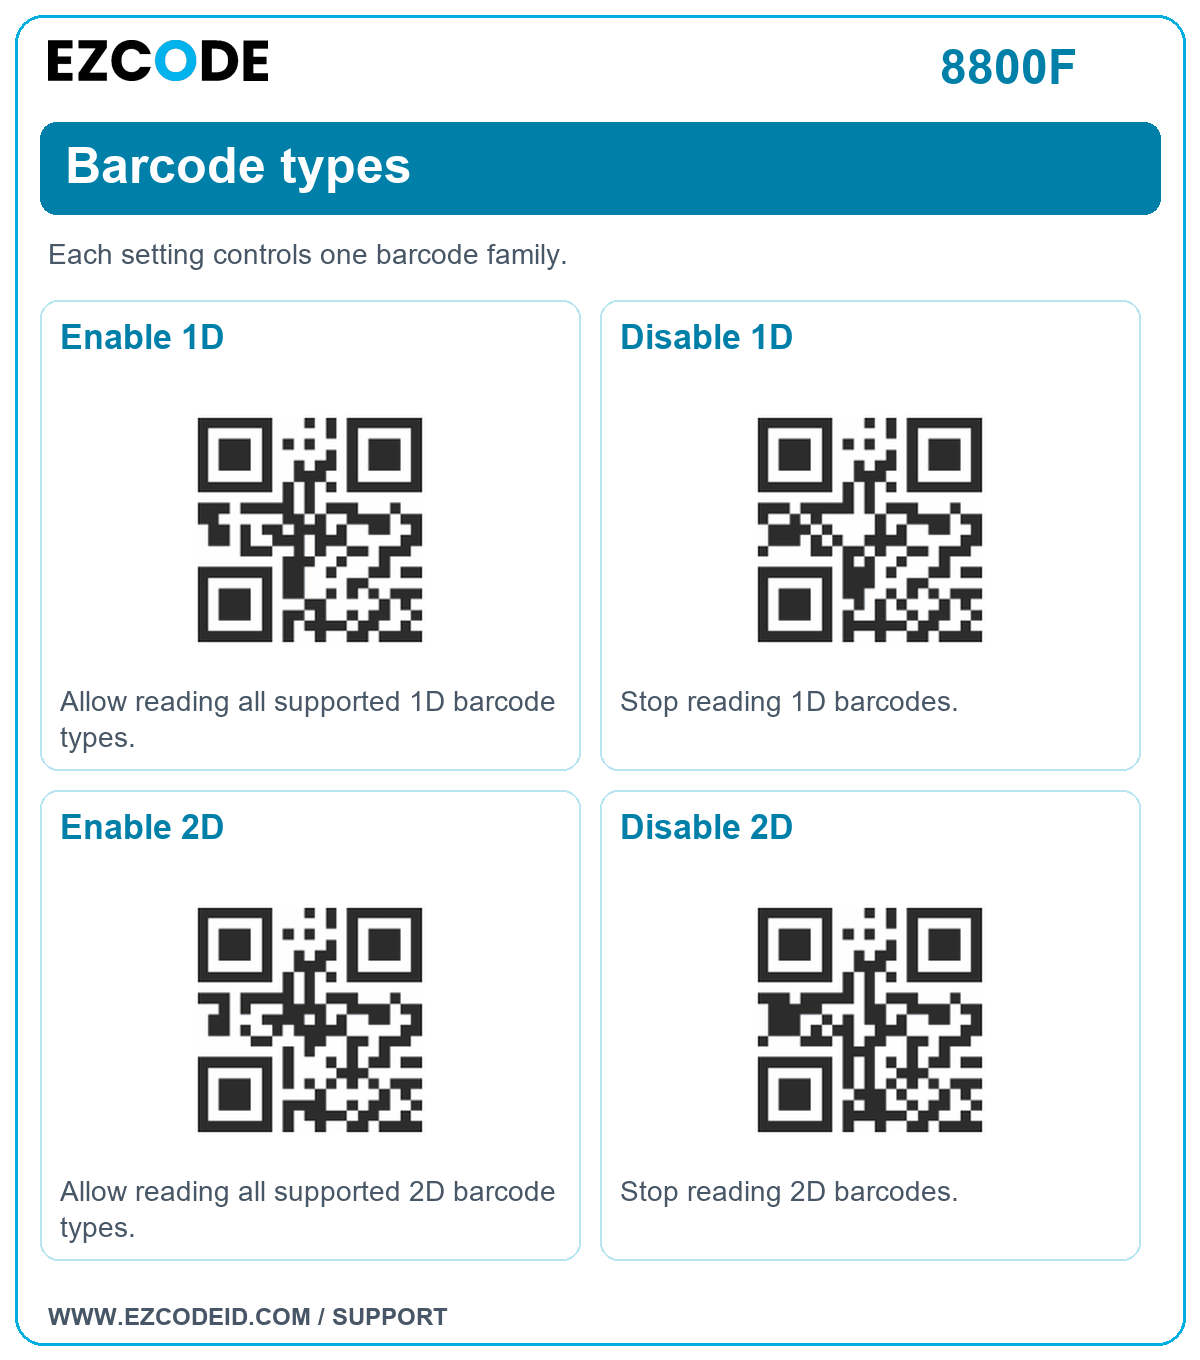
Barcode types
Each setting controls one barcode family.
2D only: scan Enable 2D, then Disable 1D. This enables the 2D family, not QR codes exclusively. To restore both families, scan Enable 1D and Enable 2D. Enabling every type may reduce decoding speed.
Open / save barcode types image ↗Enable 1D
Allow reading all supported 1D barcode types.
Disable 1D
Stop reading 1D barcodes.
Enable 2D
Allow reading all supported 2D barcode types.
Disable 2D
Stop reading 2D barcodes.
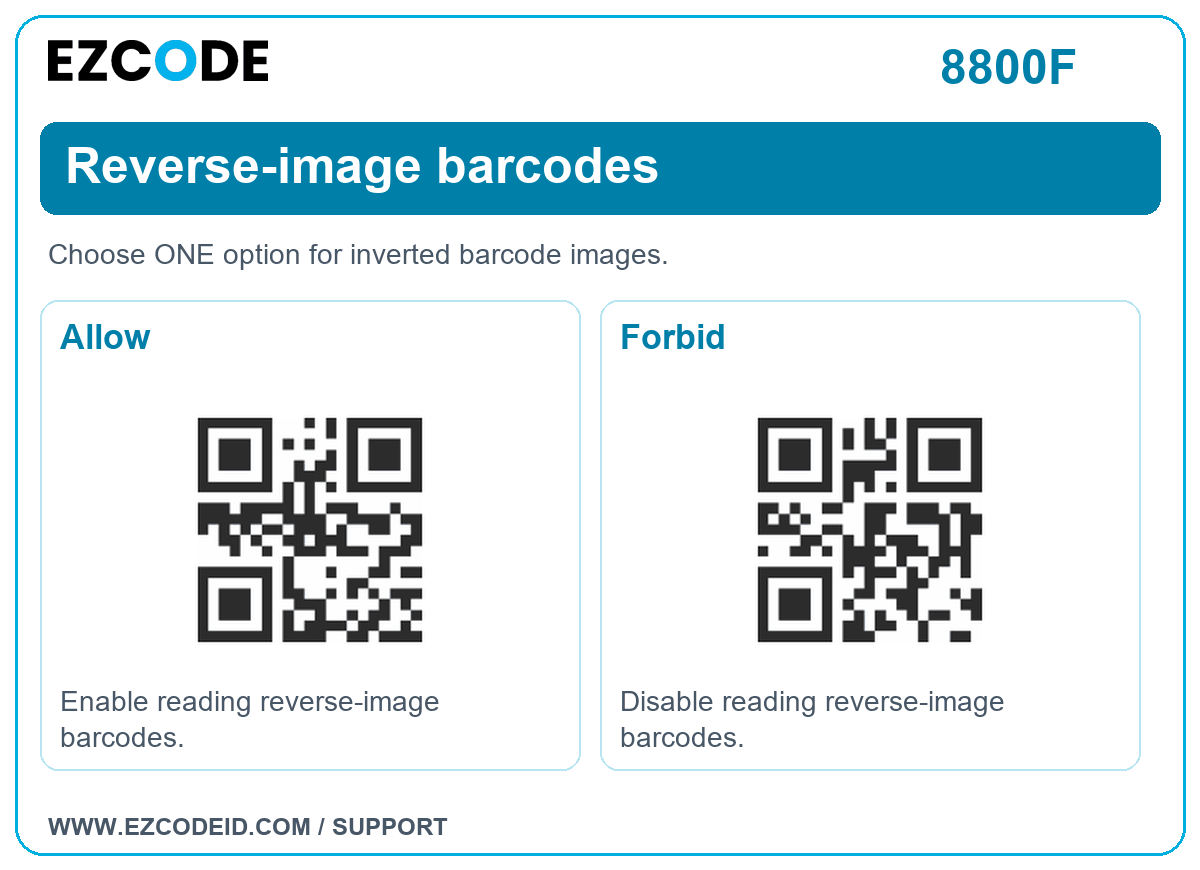
Reverse-image barcodes
Choose ONE option for inverted barcode images.
Open / save reverse-image barcodes image ↗Allow
Enable reading reverse-image barcodes.
Forbid
Disable reading reverse-image barcodes.
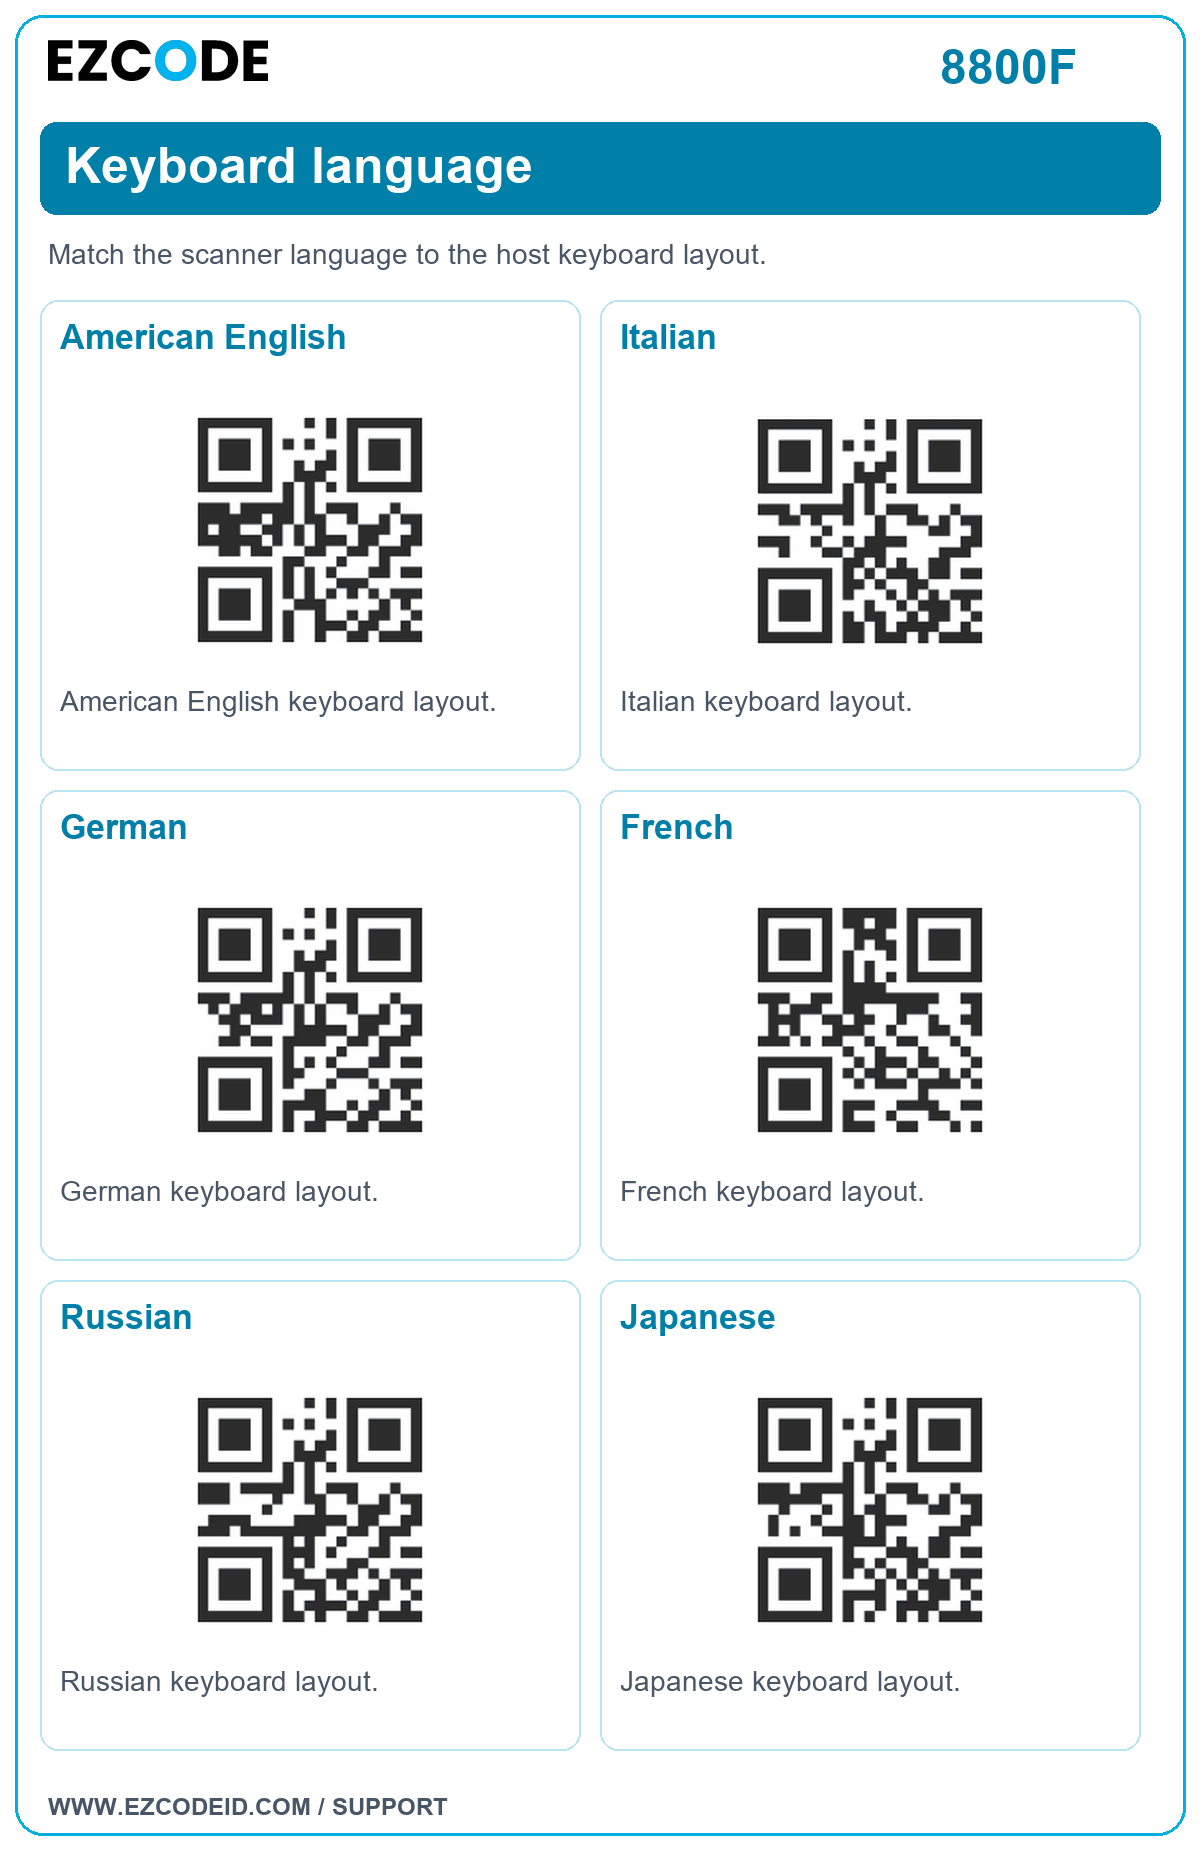
Keyboard language
Match the scanner language to the host keyboard layout.
Open / save keyboard language image ↗American English
American English keyboard layout.
Italian
Italian keyboard layout.
German
German keyboard layout.
French
French keyboard layout.
Russian
Russian keyboard layout.
Japanese
Japanese keyboard layout.
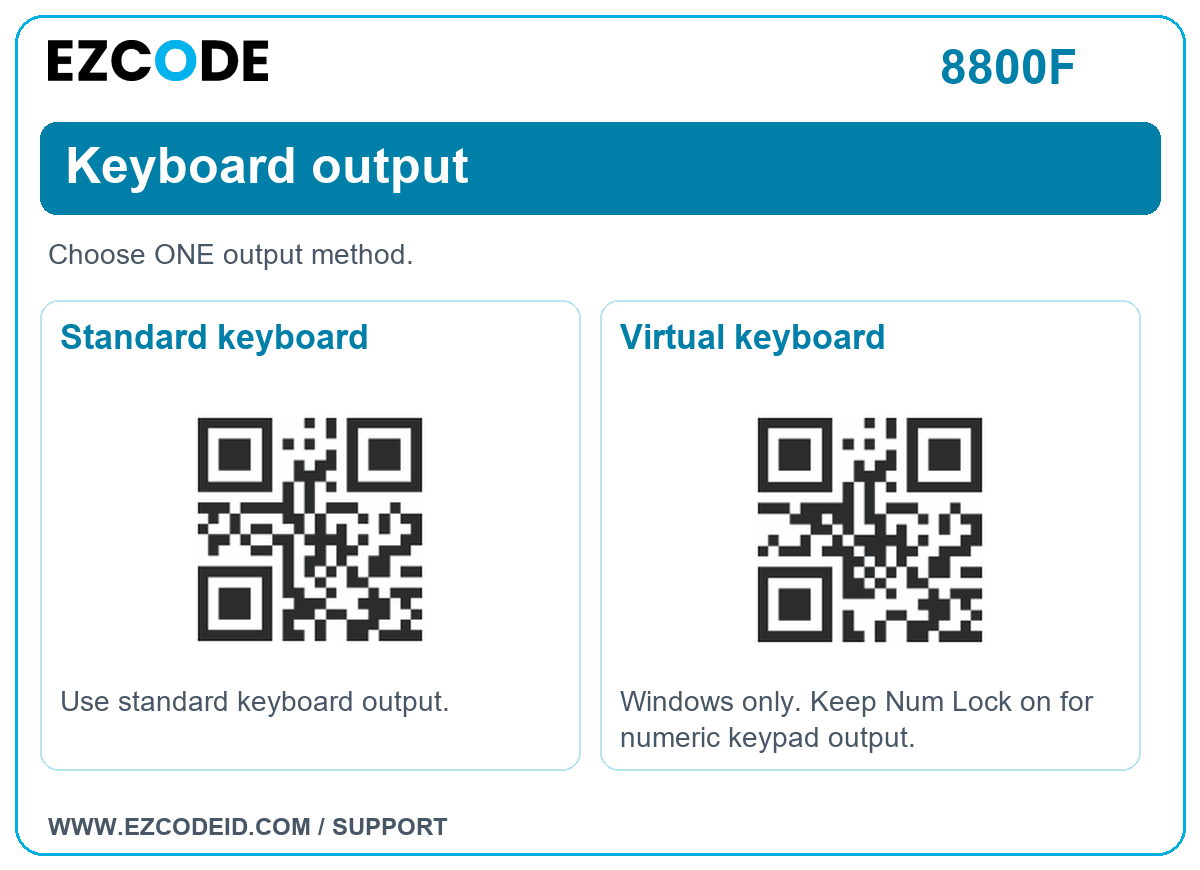
Keyboard output
Choose ONE output method.
Open / save keyboard output image ↗Standard keyboard
Use standard keyboard output.
Virtual keyboard
Windows only. Keep Num Lock on for numeric keypad output.
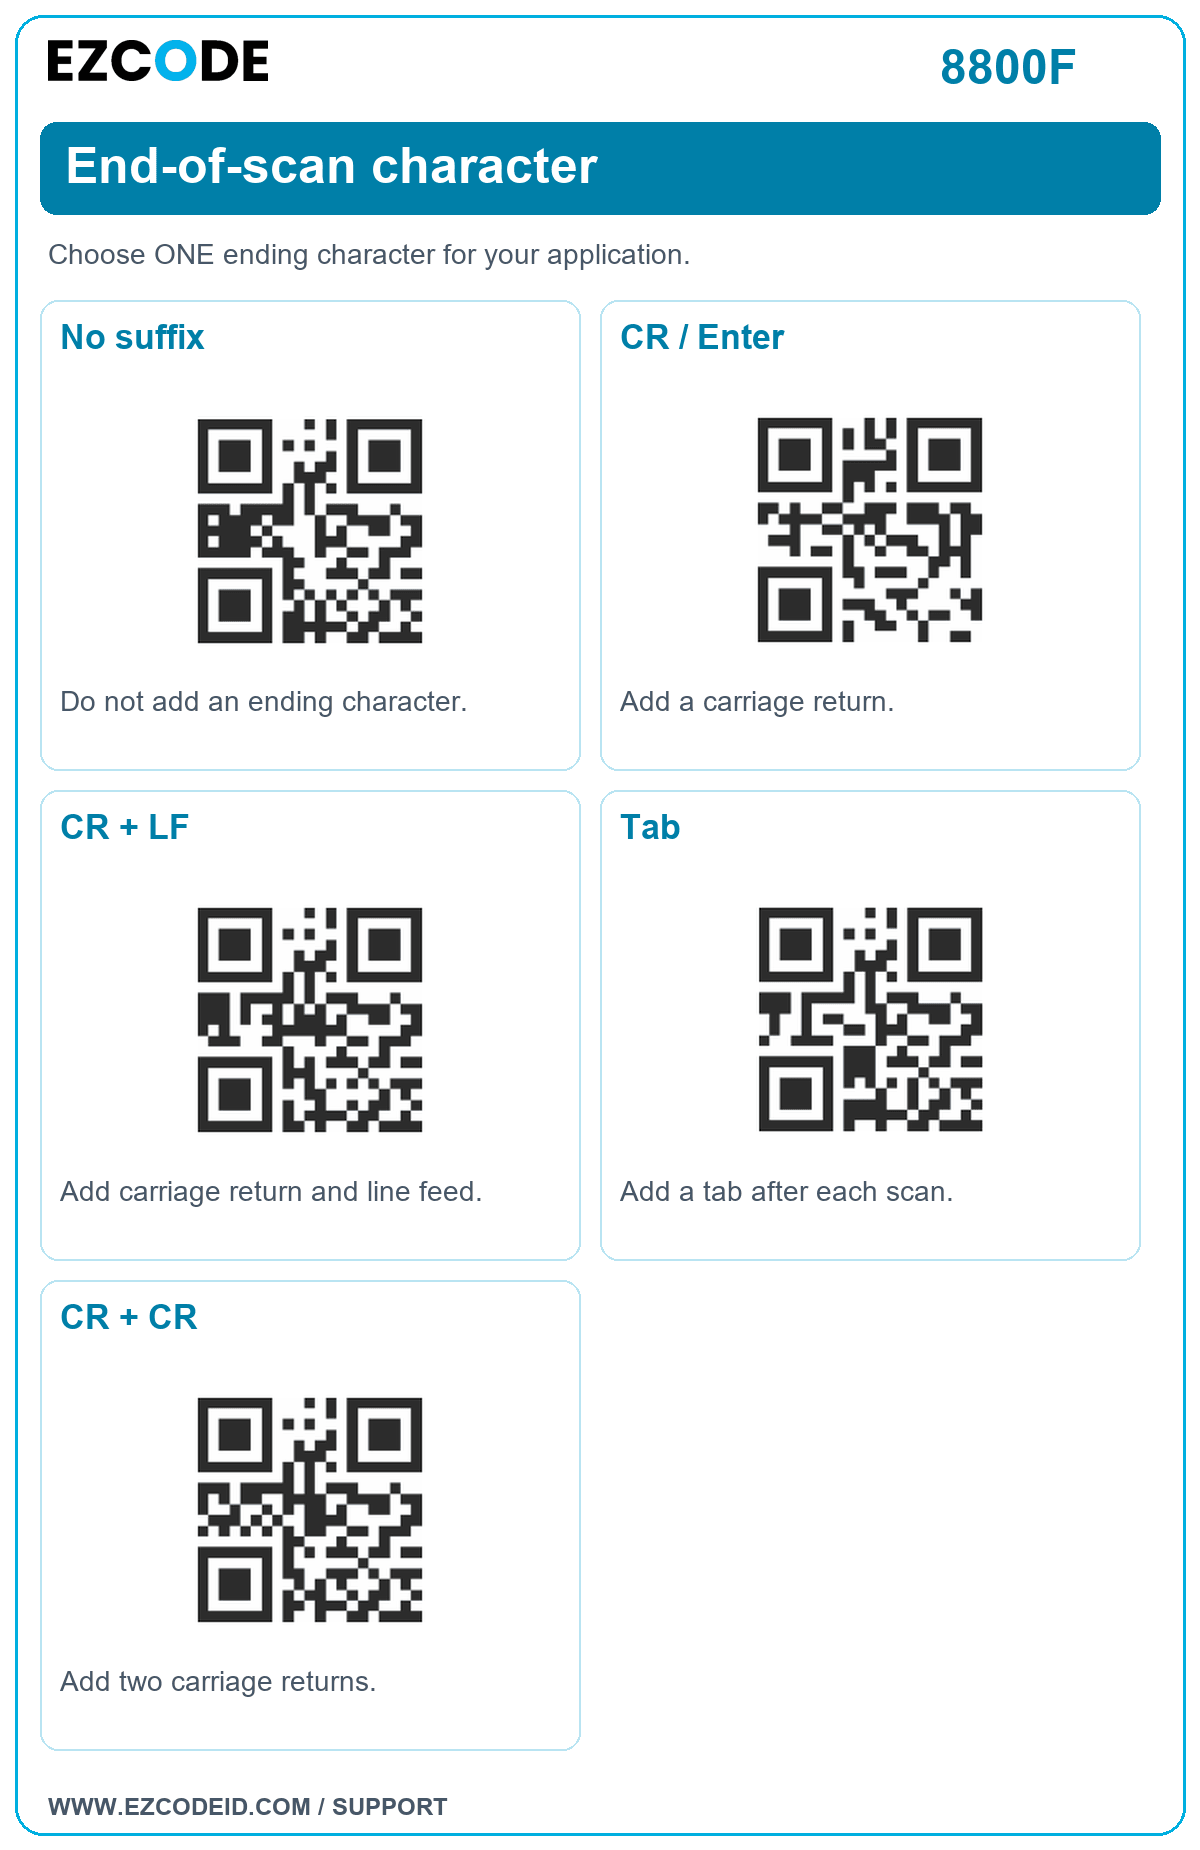
End-of-scan character
Choose ONE ending character for your application.
Open / save end-of-scan character image ↗No suffix
Do not add an ending character.
CR / Enter
Add a carriage return.
CR + LF
Add carriage return and line feed.
Tab
Add a tab after each scan.
CR + CR
Add two carriage returns.
Quick help
No text appears? Connect the USB cable, choose USB keyboard, then test in a text field. Virtual COM requires compatible software and a driver.
Wrong characters? Match the keyboard language to your computer. Virtual keyboard output is for Windows only; keep Num Lock on.
Scan modes: The supplied GT-8800F manual lists Manual Trigger as the reset default and does not include separate scan-mode setting codes. Reset clears your custom settings; do not use it as an auto-scan shortcut.